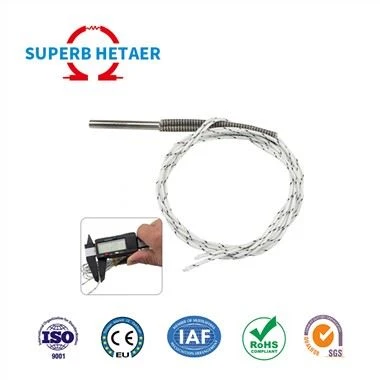
How to Calibrate the Zero Point of a Hot Runner Sensor
Leave a message
Four straightforward and precise processes that may be carried out using common production equipment are needed to calibrate a hot runner sensor's zero point:
1. Initial Preparation for Thermal Stabilization
To avoid temperature variations from impacting zero-point accuracy, first heat the hot runner to its typical operating temperature and hold it there for 30 minutes to allow the sensor temperature to fully stabilize.
2. Full Stabilization and Depressurization
Make sure the pressure inside the runner is zero by fully depressurizing the injection molding machine in order to remove the melt pressure. After that, let it stand for ten minutes so the sensor output can fully stabilize.
3. Modifying Zero-Point Settings
In the injection molding machine control system or sensor amplifier interface, set the current zero-pressure output to the standard zero point (usually 4mA corresponds to 0 pressure) and save the parameters for sensors with amplified output (such the 6125A model with an integrated amplifier).
For passive sensors: Recalibrate the zero-point reference and clear the existing zero-pressure output offset to zero in the data collecting system of the injection molding machine.
4. Check the Calibration Outcomes Check the zero-pressure output once again after repeating the depressurization and static adjustment procedure. A successful calibration is indicated by a variation of less than 0.05 mA.
It is advised to retest every two weeks to track drift variations if zero-point calibration is carried out after aging.