Mounting Options: Clamps, Brackets, and Custom Fixtures
Leave a message
If you've ever installed a tubular heater only to find it wobbly, inefficient, or even unsafe, you're not alone. From workshops to commercial kitchens, and even residential spaces, one of the most overlooked parts of using tubular heaters effectively is choosing the right mounting method. Many users fixate on wattage or material but skip over how the heater attaches to surfaces-and that's a mistake. The right mounting keeps your tubular heater stable, maximizes heat distribution, and extends its lifespan. Let's break down the three main options-clamps, brackets, and custom fixtures-and when to use each, based on my years in the electric heating industry.
First, let's get one thing clear: tubular heaters are versatile, but their mounting needs vary wildly by scenario. Unlike space heaters that sit freely or underfloor heating systems embedded in concrete, tubular heaters rely on secure attachment to walls, ceilings, or equipment to work properly. In reality, a poorly mounted tubular heater doesn't just risk falling-it can create hot spots, block airflow, or even overheat nearby materials. That's why picking the right mounting option isn't a "nice-to-have"-it's essential for safety and performance.
Clamps are the go-to for quick, temporary, or adjustable installations. They're perfect if you need to move the tubular heater between different locations (like a workshop bench or a temporary event space) or attach it to pipes or beams. From my experience, metal clamps with rubber liners work best-they grip tightly without scratching the heater's surface or slipping over time. Avoid plastic clamps, though-they can soften under high heat and lose their hold. Clamps are also great for retrofits, where you don't want to drill into walls or equipment. Just make sure the clamp size matches the diameter of your tubular heater; a loose fit defeats the purpose entirely.
Brackets, on the other hand, are for permanent, fixed-position setups. Think residential garages, commercial walk-in coolers, or industrial machinery where the tubular heater stays in one place long-term. Brackets come in wall-mounted and ceiling-mounted styles, and most are designed specifically for tubular heaters-so they'll align with the heater's mounting points perfectly. Actually, I always recommend stainless steel brackets for humid or corrosive environments (like kitchens or outdoor patios) because they resist rust and wear. A common mistake here is using generic brackets instead of heater-specific ones-generic parts might not handle the heater's weight or heat, leading to sagging or failure over time. Also, make sure to mount brackets to studs or solid surfaces, not just drywall-even a lightweight tubular heater can pull loose if anchored poorly.
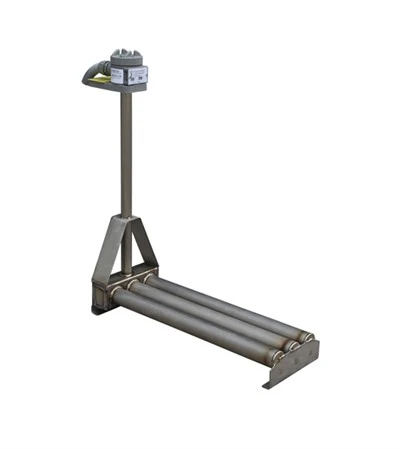
Then there are custom fixtures, which are necessary for unique or complex setups. If your tubular heater needs to fit around odd-shaped equipment, in tight corners, or integrate with existing systems (like production lines or custom HVAC setups), off-the-shelf clamps or brackets won't cut it. Custom fixtures are designed to match your exact space and needs-whether that's a curved bracket for a rounded surface or a multi-point fixture for a long tubular heater that needs extra support. Based on experience, custom fixtures aren't just for "special cases"-they're often the most efficient choice for commercial or industrial applications where precision matters. The key here is working with a manufacturer who understands both tubular heaters and your specific use case; a bad custom fixture can be more problematic than no fixture at all.
No matter which option you choose, there are a few universal rules to follow. Always check the tubular heater's manufacturer guidelines-they'll specify weight limits, mounting distances from flammable materials, and compatible accessories. Don't cut corners on hardware: use stainless steel screws or bolts for outdoor or humid areas, and make sure all parts are rated for high heat. Also, consider heat distribution-mounting a tubular heater too close to a wall or object will block heat output, while mounting it too high (in a ceiling application) might reduce its effectiveness for spot heating. And if you're unsure about load-bearing capacity or safety codes, consult a professional-especially in commercial spaces where compliance is non-negotiable.
At the end of the day, the best mounting option for your tubular heater depends on your space, usage, and long-term goals: clamps for flexibility, brackets for permanence, and custom fixtures for uniqueness. Skipping the right mounting setup can turn a reliable tubular heater into a headache-or worse. Every space and application has its quirks, and there's no one-size-fits-all solution when it comes to mounting. What works for a small workshop might not be suitable for a large commercial kitchen, and a residential garage setup won't translate to industrial machinery.
That's where tailored expertise comes in. Whether you're outfitting a home space, a small business, or a large industrial facility, getting a professional assessment of your tubular heater mounting needs ensures safety, efficiency, and long-term performance. Our team specializes in matching tubular heaters with the perfect mounting solutions-taking into account your space constraints, usage patterns, and safety requirements to design a setup that works seamlessly. Instead of guessing and risking mistakes, let's build a mounting plan that's as reliable as your tubular heater itself. After all, the right support makes all the difference in getting the most out of your heating equipment.