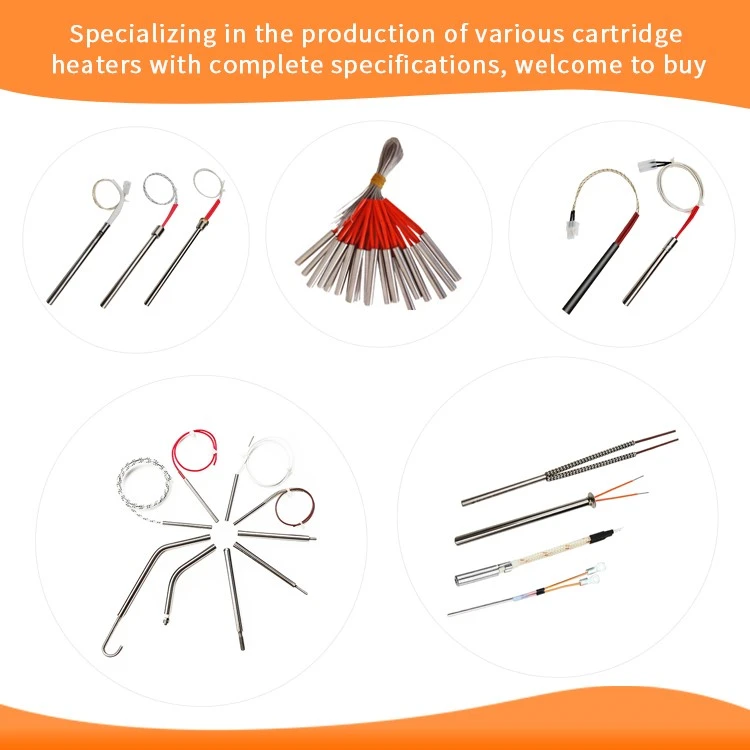
how to replace 3d printer heater cartridge
Leave a message
How to Replace a 3D Printer Heater Cartridge
Replacing a heater cartridge (also called a heater element) is one of those maintenance tasks that every 3D printer owner eventually faces. Whether your old cartridge has burned out, developed an intermittent connection, or you're upgrading to a higher-wattage version for faster heating, the process is pretty straightforward - though it does require patience and care to avoid damaging other components.
I've replaced quite a few over the years on Ender 3s, CR-10s, Prusa machines, and various V6-style hotends. Here's a practical, step-by-step guide that works for most common FDM printers.
Tools & Materials You'll Need
Replacement heater cartridge (make sure it matches your printer's voltage - usually 24V for newer Creality machines, 12V for older ones - and wattage, typically 30–50W)
Correct diameter & length (most commonly 6 mm × 20 mm)
Allen keys / hex drivers (usually 1.5–2.5 mm for the set screw, plus others for disassembling the hotend)
Small pliers (needle-nose preferred)
Wire cutters & strippers (if you need to re-terminate wires)
Multimeter (highly recommended for testing)
Heat-resistant gloves or tweezers
Optional but helpful: silicone hotend sock, thermal paste (very thin layer), heat shrink tubing, ferrules/crimp terminals
Safety first Always unplug the printer from power before starting. The heater runs on significant current, and you don't want any surprises.
Step-by-Step Replacement Guide
Preparation – Heat & Clean (if needed) If the old cartridge is stuck (very common due to leaked filament carbonizing around it), heat the hotend to about 180–220 °C (depending on what filament was last used). This softens any plastic residue and makes removal much easier. Once hot, turn the printer off and unplug it immediately. Let it cool just enough so you can touch the block without burning yourself, but still warm.
Access the Hotend Depending on your printer:
Ender 3 / Ender 5 series → remove the fan shroud (usually 2–3 screws)
CR-10 style → similar, but you might need to remove more ducting
Prusa MK3S or similar → release the extruder and carefully move the wiring loom aside Try to avoid stressing the wires too much - many failures happen later because wires were bent sharply during disassembly.
Disconnect the Wires Locate the heater cartridge wires (usually thicker red/black pair going to the mainboard or an intermediate connector).
If your printer has plug connectors near the hotend - great, just unplug them.
If wires go all the way to the mainboard → either carefully desolder/cut, or better yet, add an intermediate connector (like Molex Mini-Fit Jr. or WAGO) for future ease. Pro tip - take a quick photo of the wiring before disconnecting anything.
Remove the Old Cartridge Find the tiny set screw (grub screw) on the heater block - usually on the side or bottom near the nozzle. Loosen it (don't remove completely yet). Gently wiggle and pull the cartridge straight out.
If it's really stuck: apply gentle heat again + use pliers on the exposed end (wrap with tape to avoid scratching). Never force it at room temperature - you'll damage the block.
Clean the Heater Block Hole This is the step most people skip - and regret later. Use a small wire brush, old nozzle cleaning needle, or even a rolled-up piece of sandpaper to remove carbon buildup inside the hole. A smooth, clean bore makes the new cartridge slide in easily and transfer heat much better.
Install the New Heater Cartridge Compare the new one to the old one - same diameter, length, and wire orientation. Slide it in - most cartridges are directional (wires should exit the same way as before). You usually want the cartridge flush or sticking out 2–3 mm at the back (check your hotend spec). Insert → tighten the set screw gently but firmly (snug, not cranked - you can crack the ceramic inside if you overtighten).
Reconnect the Wires If you cut the wires, strip, add ferrules, and crimp properly (or solder + heat shrink). Polarity usually doesn't matter for heaters (it's just a resistor), but keep the color coding consistent. Route the wires neatly with some slack - avoid sharp bends or pinching against moving parts.
Reassemble & Test Put everything back together in reverse order. Before the first real heat-up:
Use a multimeter to check resistance of the new heater (~3–7 Ω depending on voltage/wattage)
Do a cold pull or just heat to ~100 °C and watch for even heating
Run a PID tune afterward (especially if you changed wattage) - this is probably the single most important step for stable temperatures!
Common Mistakes to Avoid
Using the wrong voltage cartridge → burns out instantly or barely heats
Overtightening the set screw → cracks the cartridge internally
Not cleaning the bore → poor heat transfer & uneven heating
Routing wires too tightly → future breaks from constant movement
Skipping PID tuning after upgrade → wild temperature swings & possible thermal runaway errors
Forgetting to unplug the printer → bad shocks or short circuits
Final Thoughts
A heater cartridge swap usually takes 20–60 minutes once you're familiar with your machine. After a few times, it becomes one of those "oh, it's doing that again" jobs you can knock out in under half an hour.