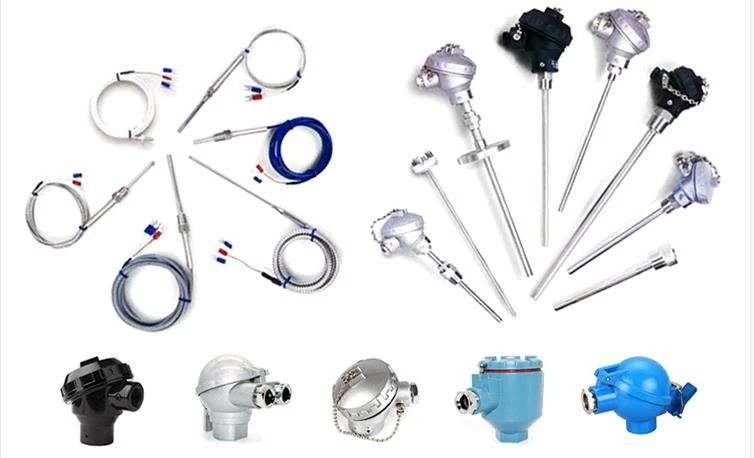
How to disassemble the thermocouple of the injection molding machine
Leave a message
1. Preparation of dismantling tools
Before disassembling the thermocouple of the injection molding machine, it is necessary to prepare some tools such as screwdrivers, wrenches, as well as safety equipment such as gloves, goggles, etc.
2. Stop the operation of the injection molding machine
Before disassembling the thermocouple, it is necessary to stop the injection molding machine and disconnect the power supply.
3. Positioning the thermocouple position
Firstly, it is necessary to locate the thermocouple in the injection molding machine. Usually, thermocouples are located in the heating system of injection molding machines, usually above the barrel or mold.
4. Disassemble the thermocouple
Using tools such as a screwdriver and wrench, gently twist the screw connecting the thermocouple and remove it from the injection molding machine.
5. Check the thermocouple
The dismantled thermocouple needs to be inspected for any damage or wear, and replaced or repaired in a timely manner.
6. Install thermocouples
Before installing a new thermocouple, it is necessary to first determine the installation position, then insert the thermocouple into the barrel or mold, and fix it firmly with screws.
7. Test the thermocouple of the injection molding machine
After installation, you can reconnect the power supply, start the injection molding machine, and test the working status of the thermocouple to ensure everything is normal.
The above are the steps and methods for disassembling thermocouples in injection molding machines. If you need more detailed operation steps, please watch the disassembly video we have prepared for you.
In short, when disassembling the thermocouple of the injection molding machine, it is necessary to pay attention to safety, follow the correct operating steps, and replace and maintain the thermocouple in a timely manner to ensure the normal operation of the injection molding machine.